Learning how to make your own potato chips sounds like a daunting task. It’s not, but that’s part of the appeal. Everyone thinks it takes tremendous effort. First, there’s the matter of slicing potatoes paper-thin without losing a finger. Then there’s the whole frying-in-boiling-oil aspect. Make these from scratch without sustaining significant injuries and you’re a legend.
With a whole new wave of lockdowns starting, now is as good a time as any to master making chips. The only specialty kitchen tool you need is a mandolin, which you can get easily for around $20. Besides that, you need a heavy-bottomed pot or wok to fry in, or a deep fryer, if you have one. The rest is pretty low-impact, albeit a little time-consuming.
In the scheme of “foods you can make at home which are insanely cheap to just go out and buy,” chips are actually way easier than making your own fries. And the rewards are equally high — especially when you create distinct flavors via spices. Follow our recipe once and you’ll have this snack in your permanent repertoire to trot out any time you want to impress folks.
What you’ll need in the kitchen:
- Mandolin
- Wok or heavy-bottom pot for frying
- Thermometer
- Two baking sheets (or plates or cutting boards)
- One large bowl
- Kitchen towels (or paper towels)
- Cooling rack (or paper towels)
- Skimmer spoon (or spider)
Step 1: Prep The Potatoes
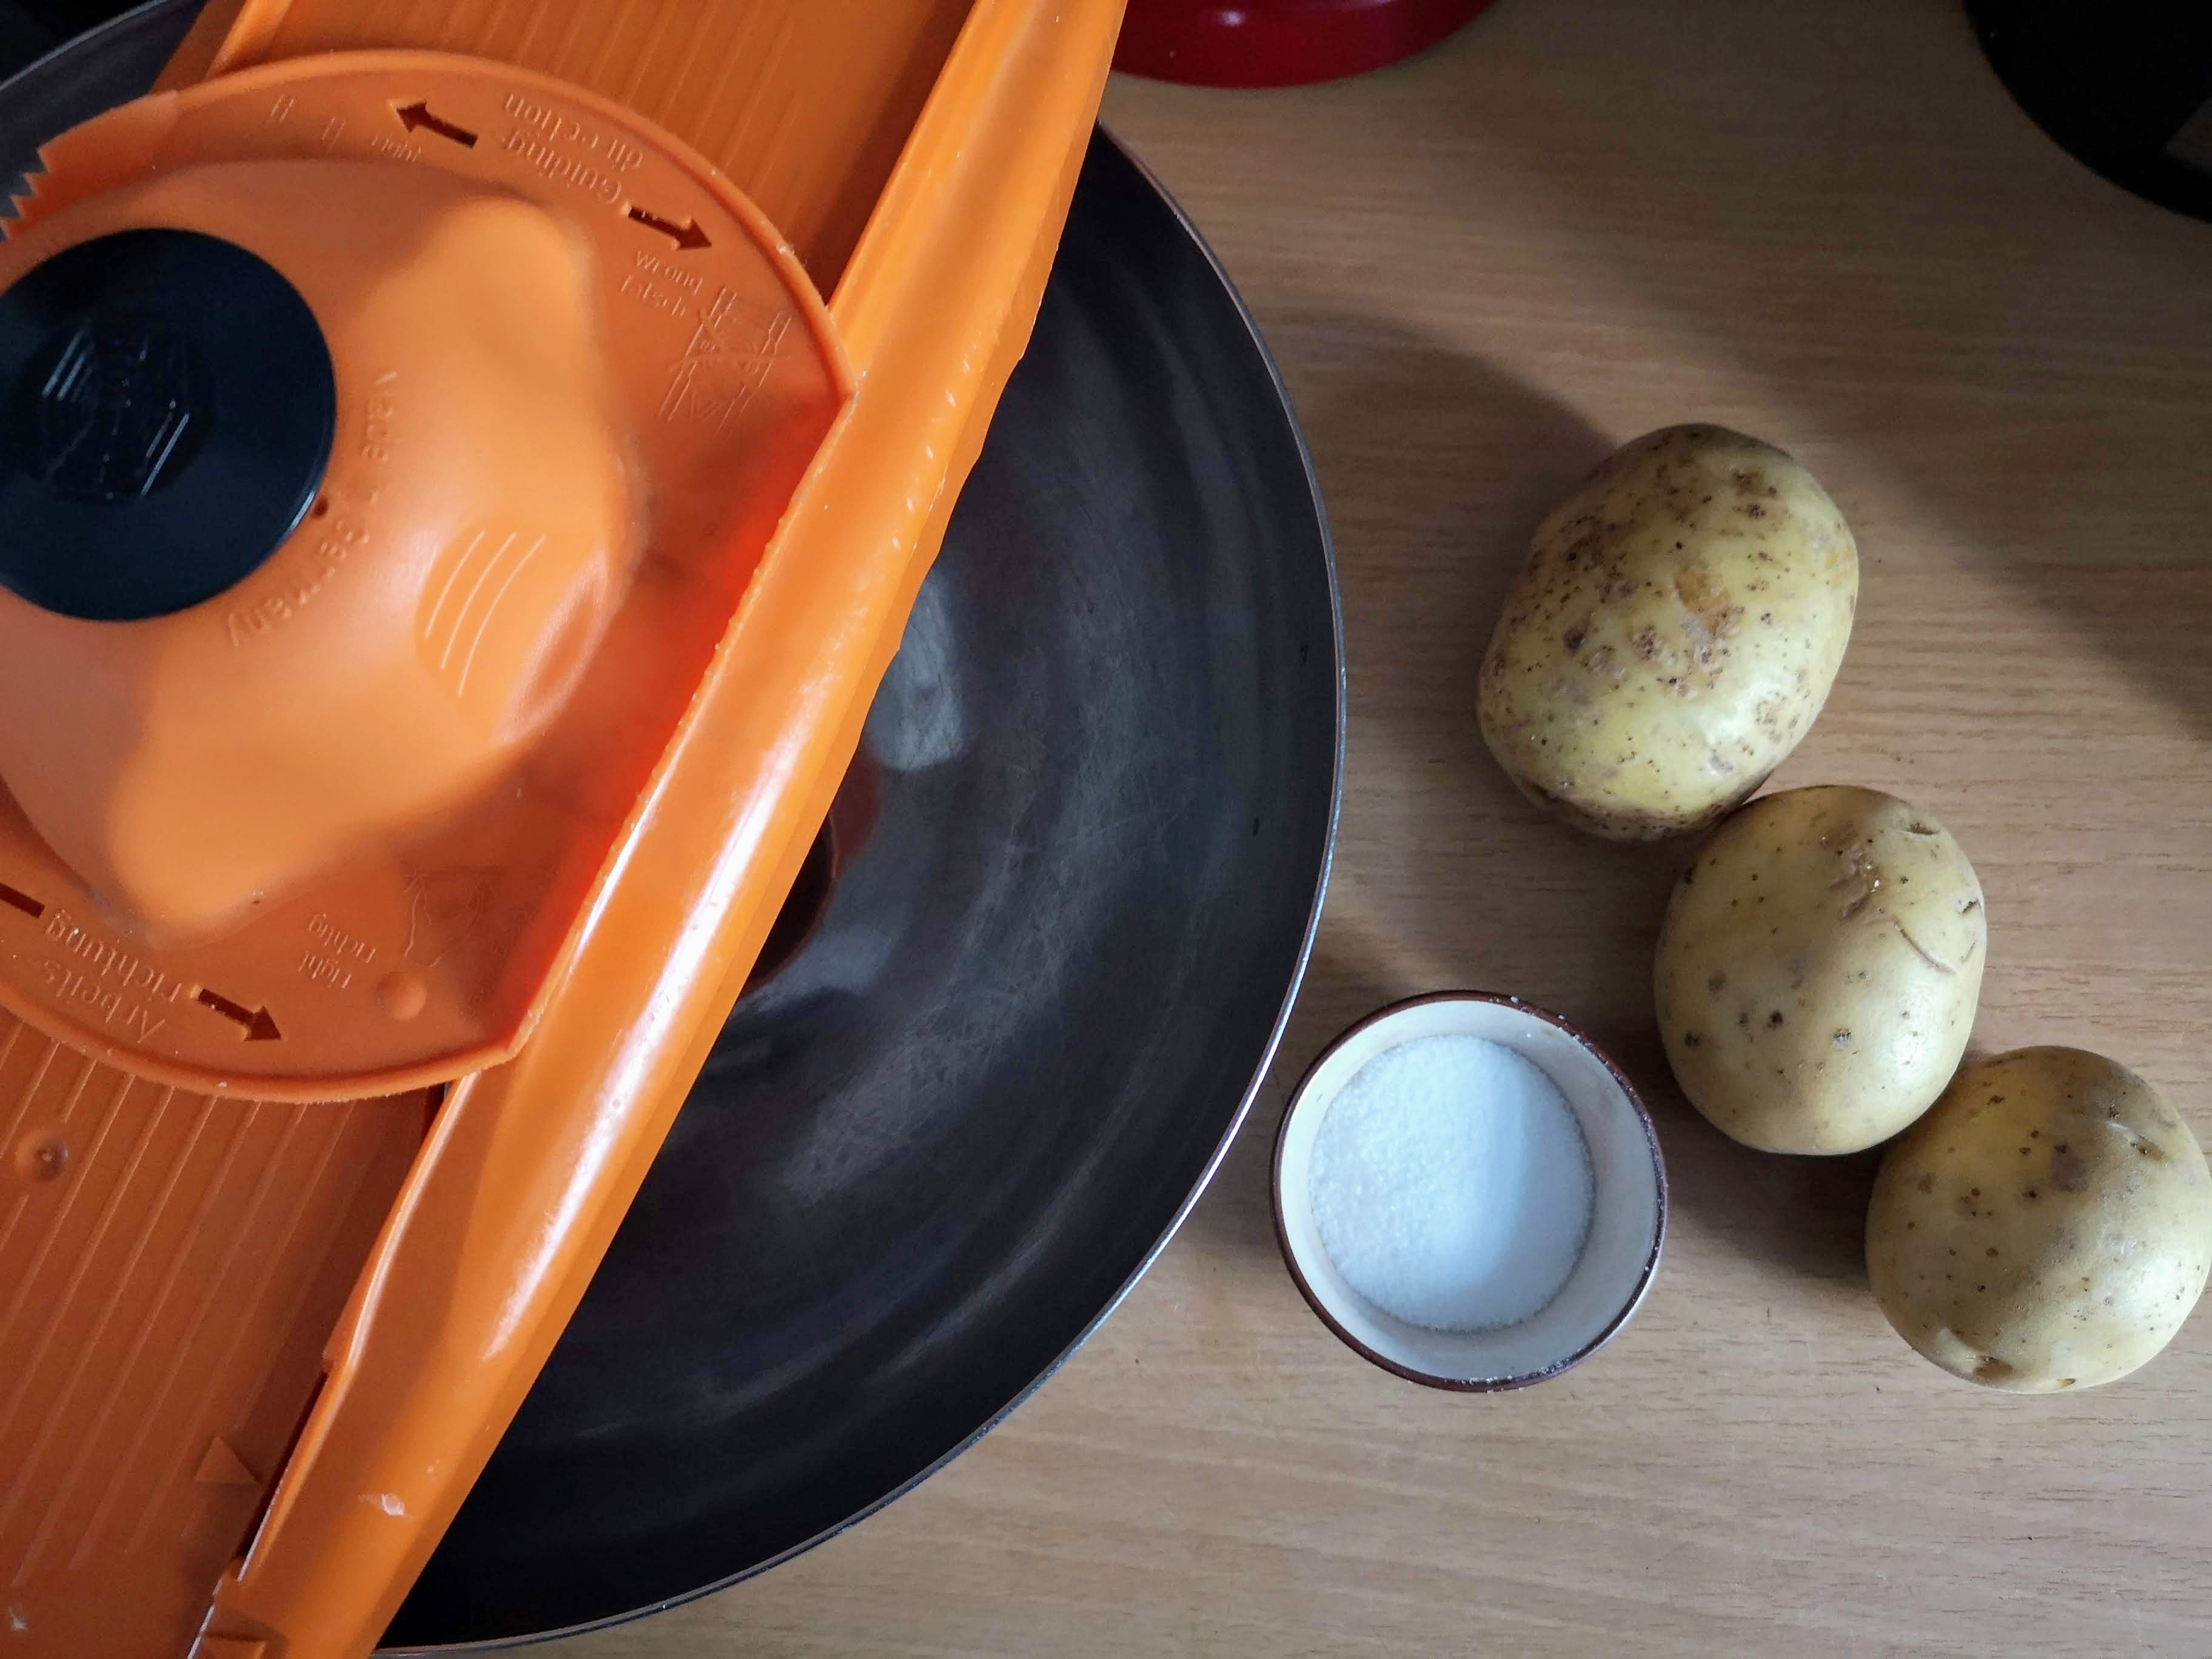
Ingredients:
- Two Queen Anne potatoes
- 4 cups of tap water
- 1 cup of white vinegar
I’m using Queen Anne’s because that’s what I have in the kitchen at the moment. You can also use Yukon Golds. You want a potato that’s both not too starchy and not too waxy. That being said, if you want to experiment, have at it!
Method:
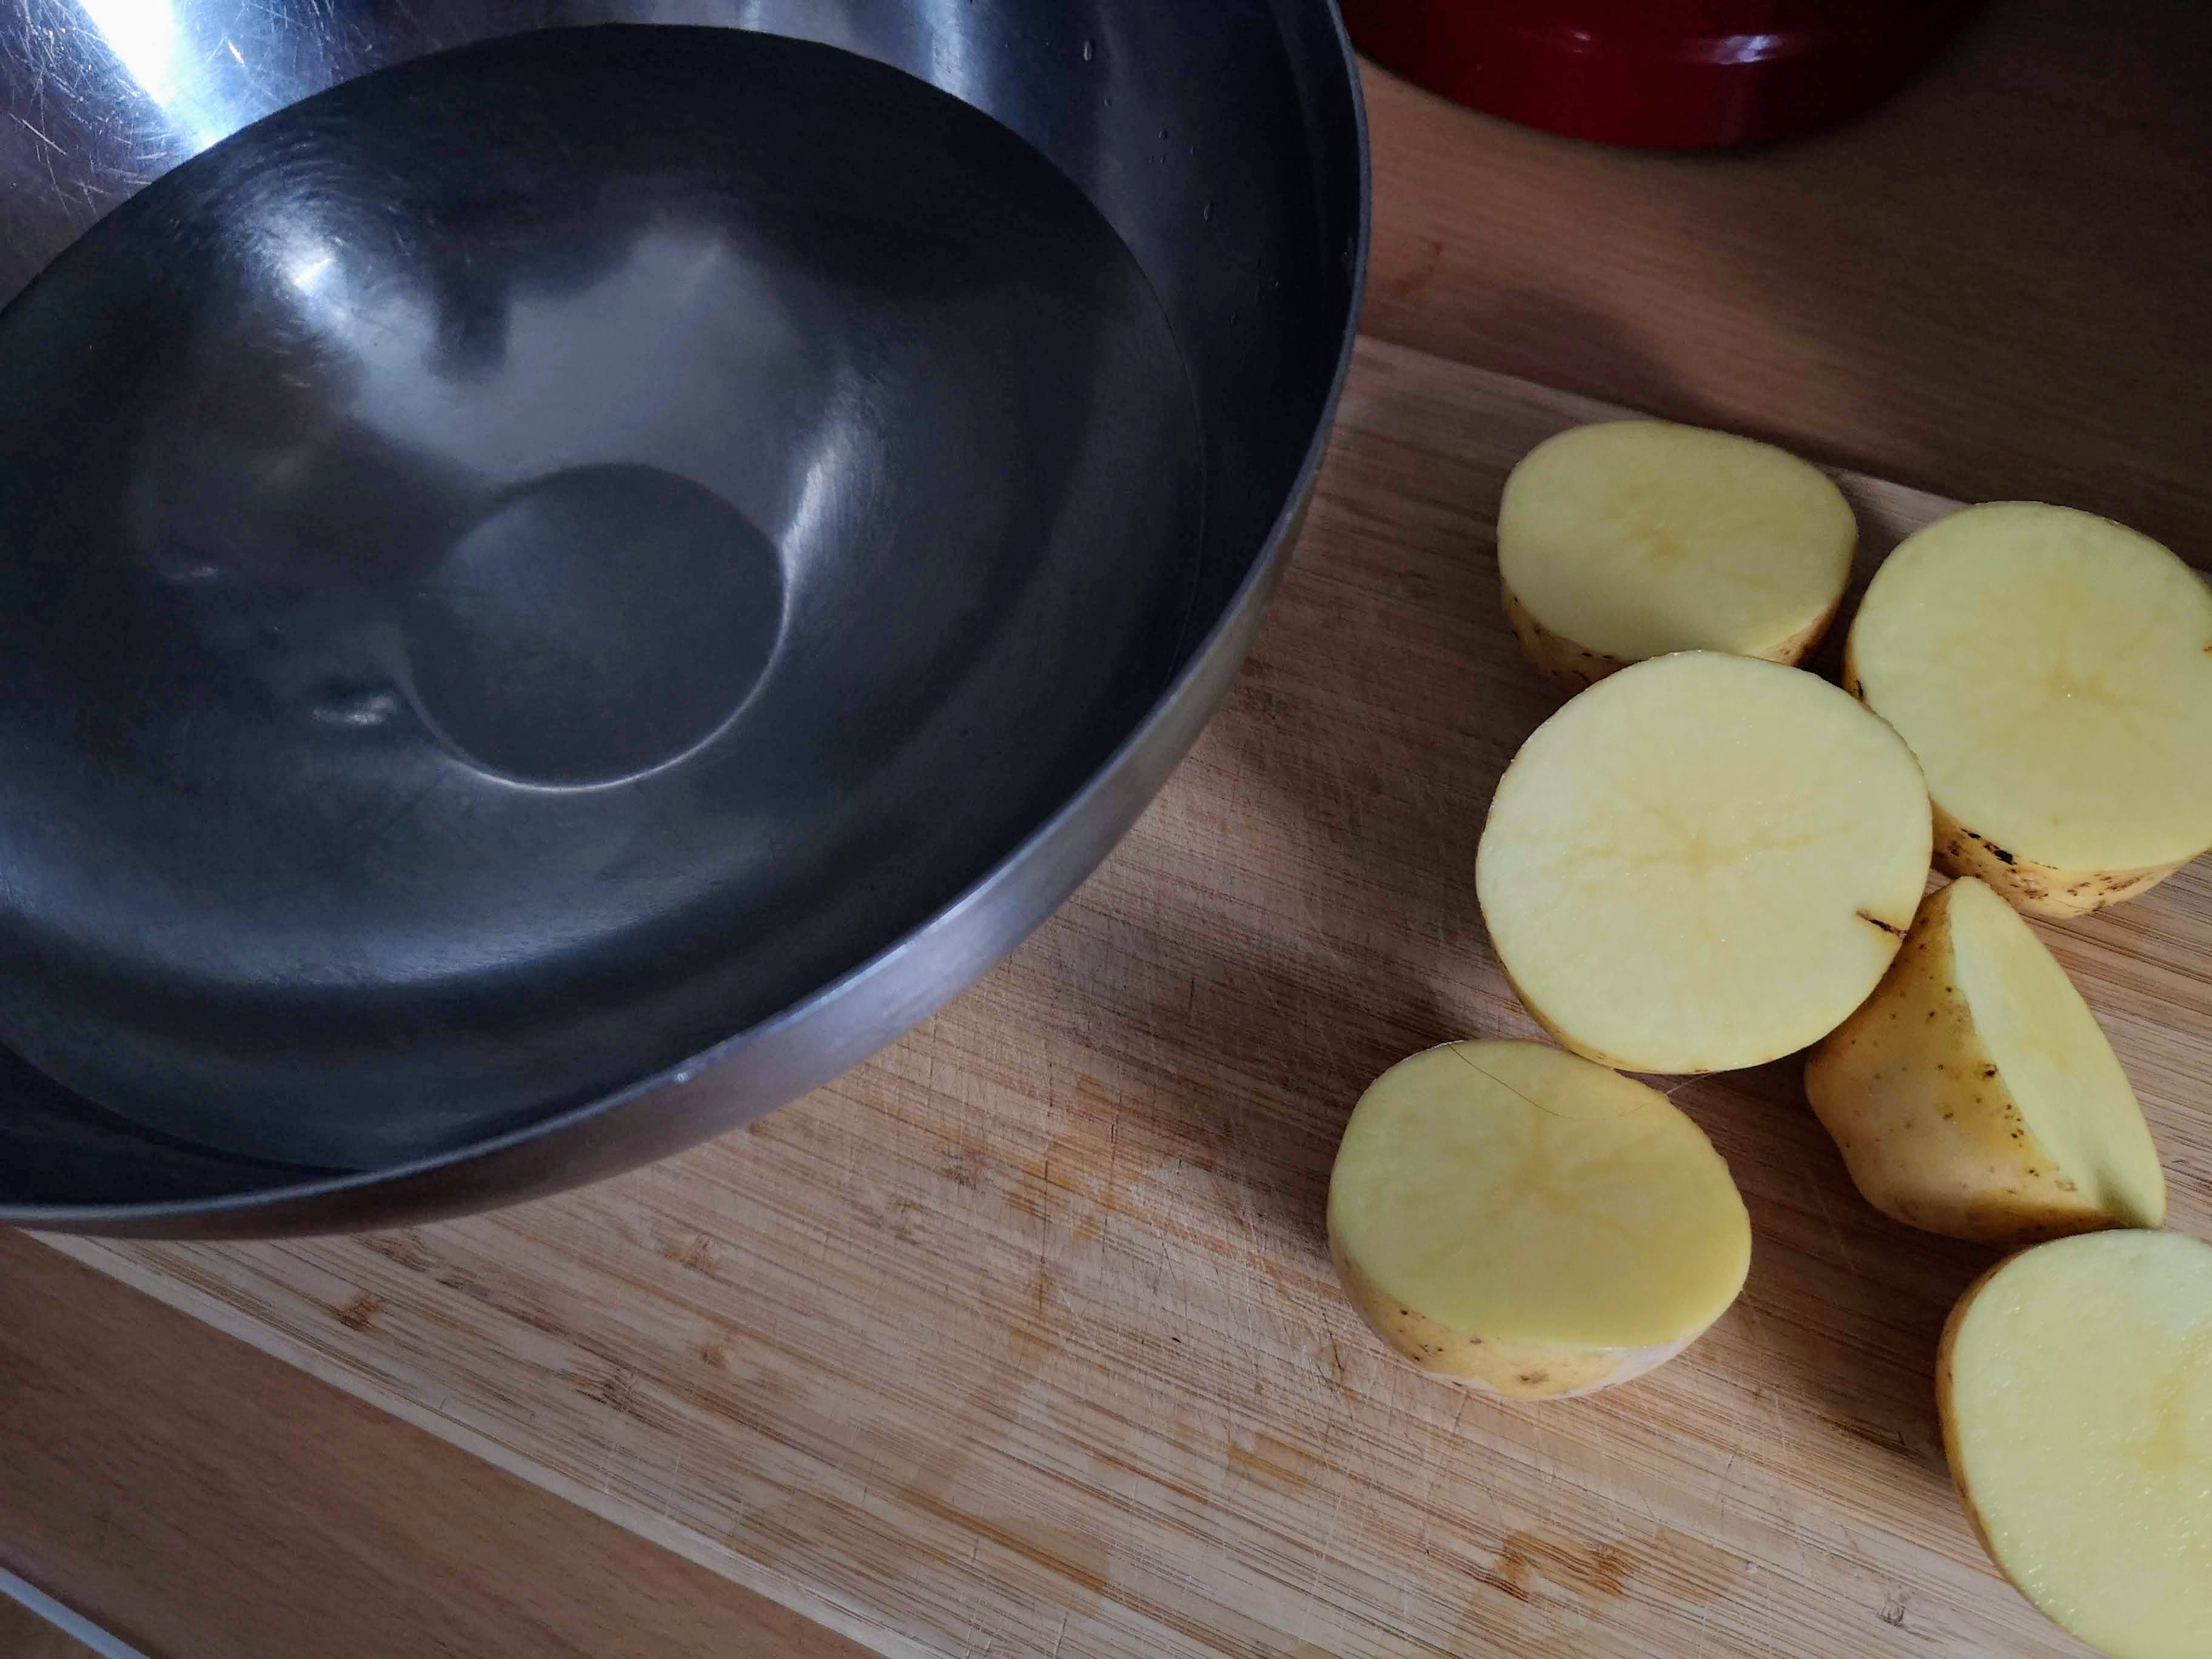
The first step is to wash your potatoes. I washed three but I ended up using only two.
Next, I added the cold water and vinegar to a large bowl. The vinegar is a key ingredient at this step. It helps to draw the starches out which then helps the chip get nice and crispy when it fries.
If you want to make salt and vinegar chips, use a 1:1 ratio of water to vinegar. Then you’ll just need to add salt once the chips are cooked.
I like to halve my potatoes. It just makes for easier slicing on the mandolin. They’re easier to handle and generally come out a little more even the whole way through.
I place my mandolin on its thinnest setting, balance it over the bowl, and start slicing. It takes less than a minute to slice through two potatoes.
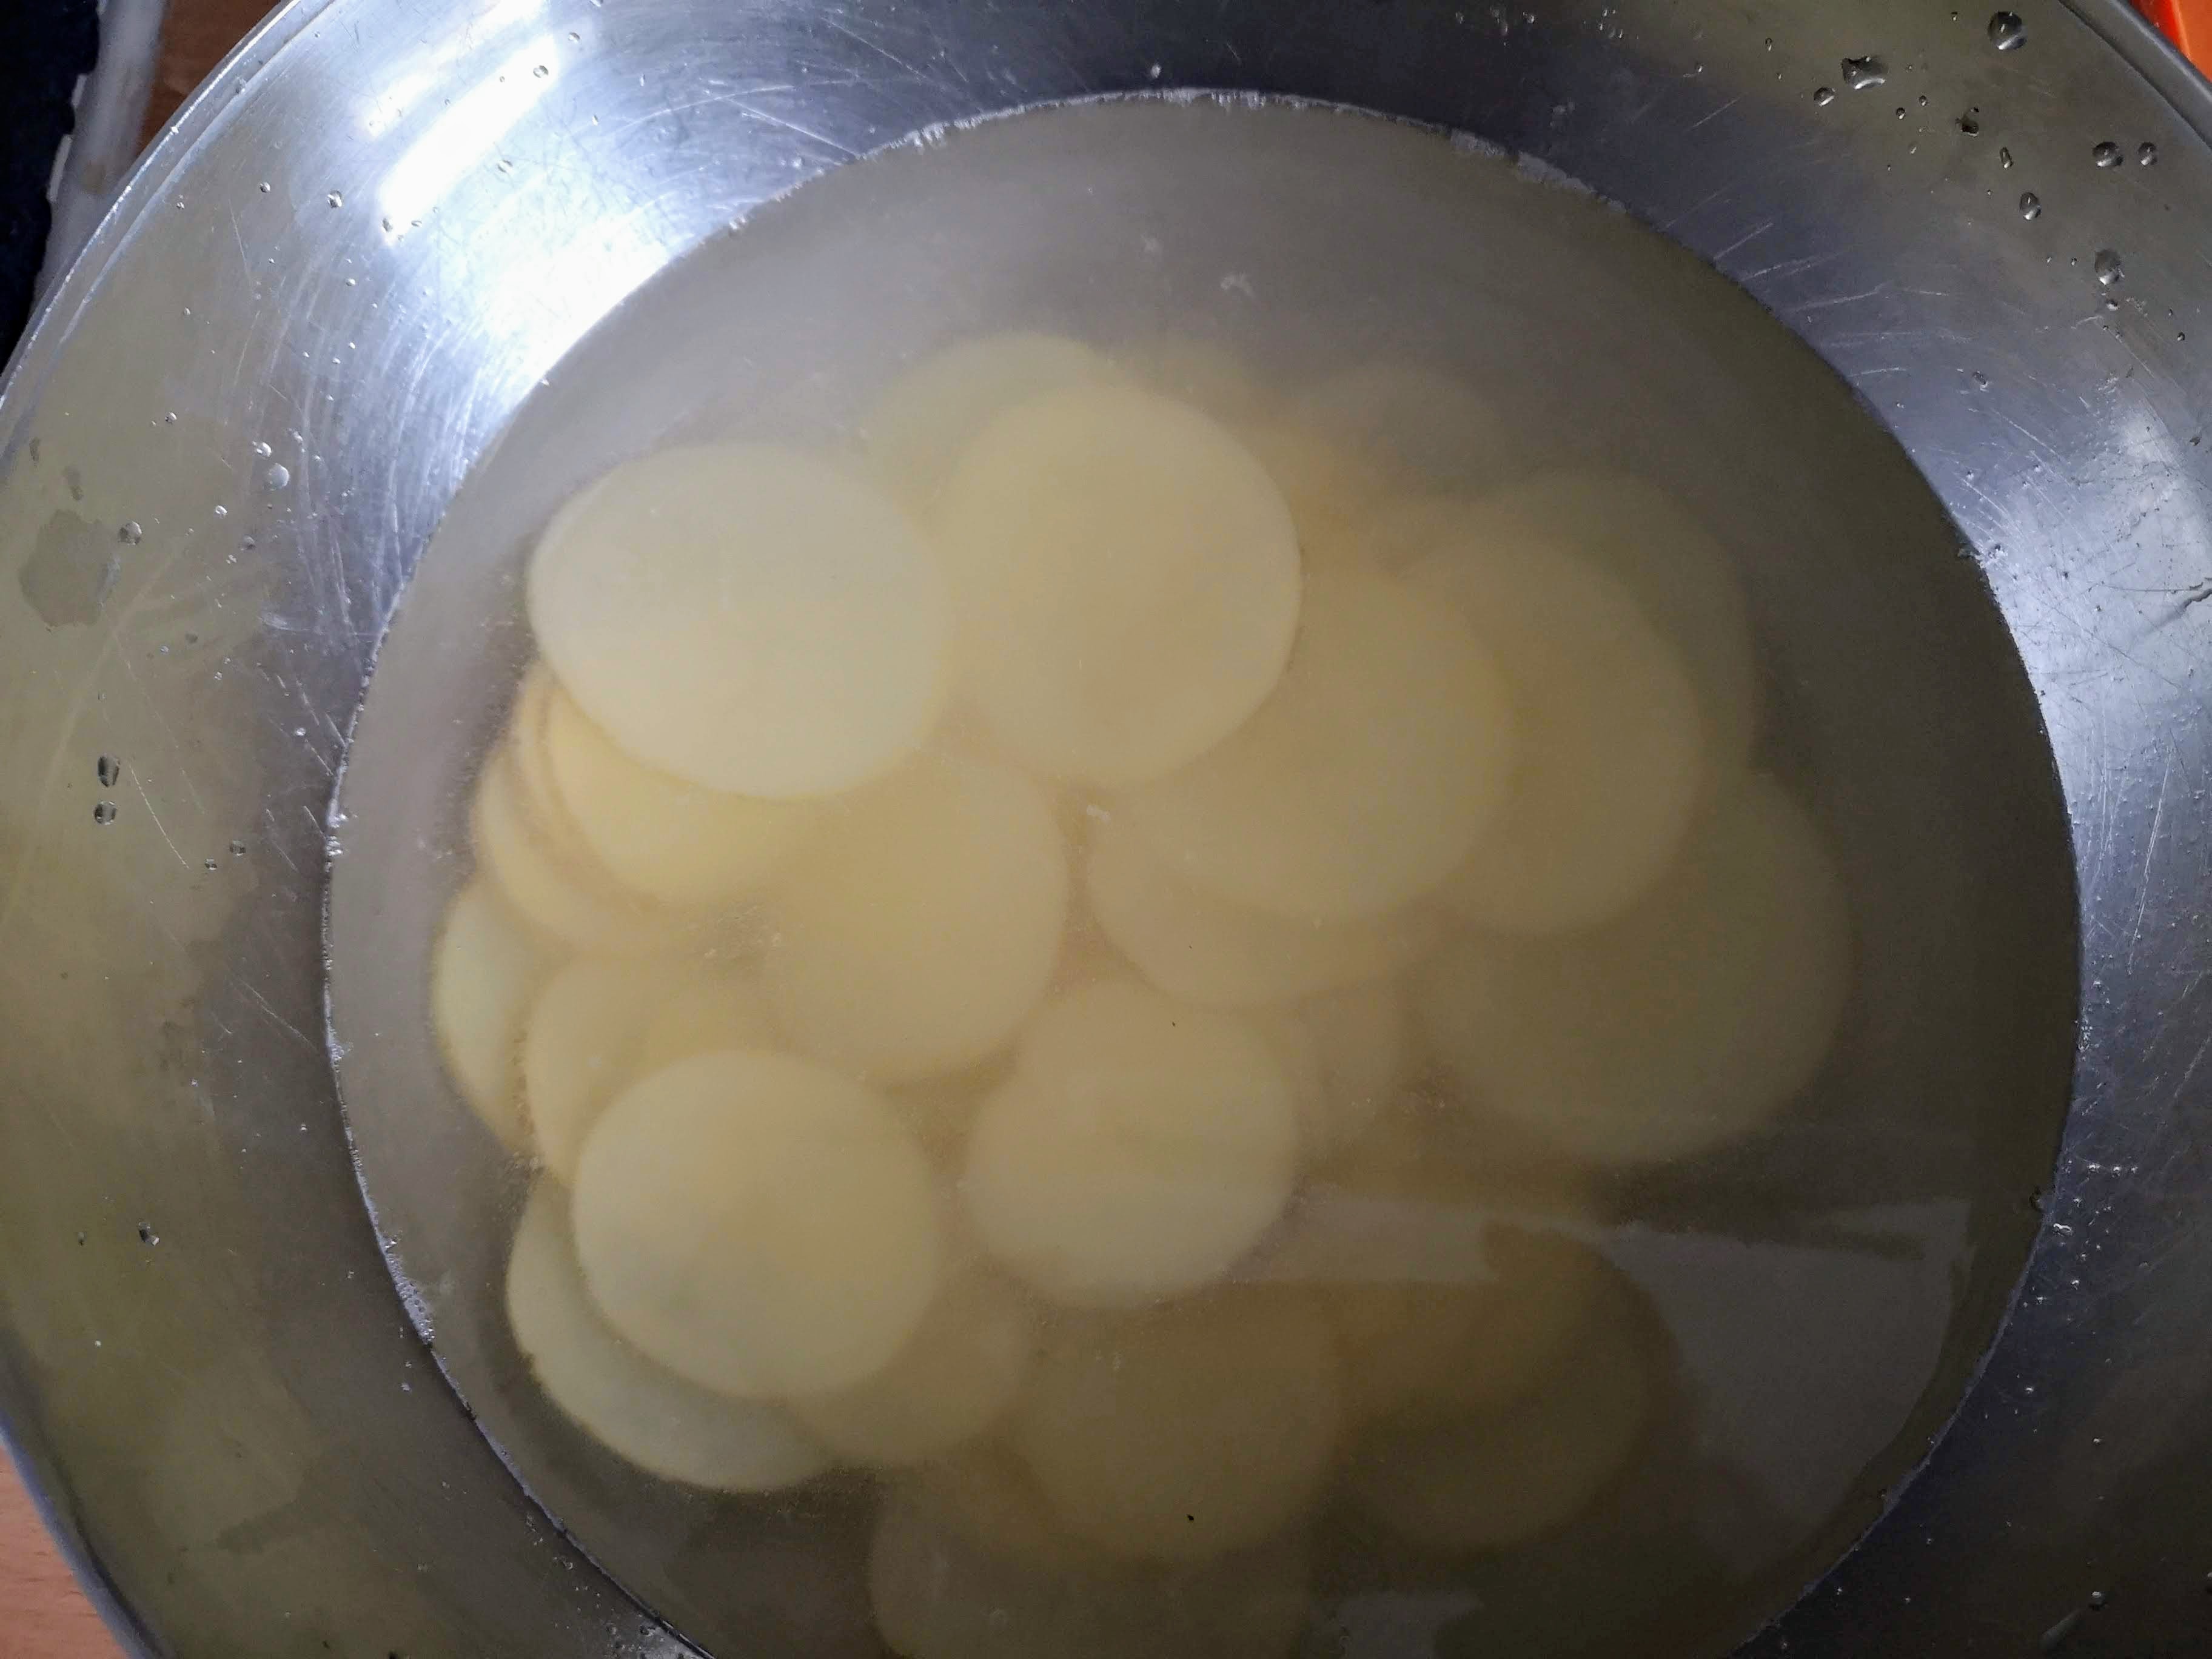
I then place the bowl in the fridge for about 2-ish hours. I’ve let them rest for an hour before and they were fine. Some recipes say they should rest overnight but I’ve never had the patience for that.
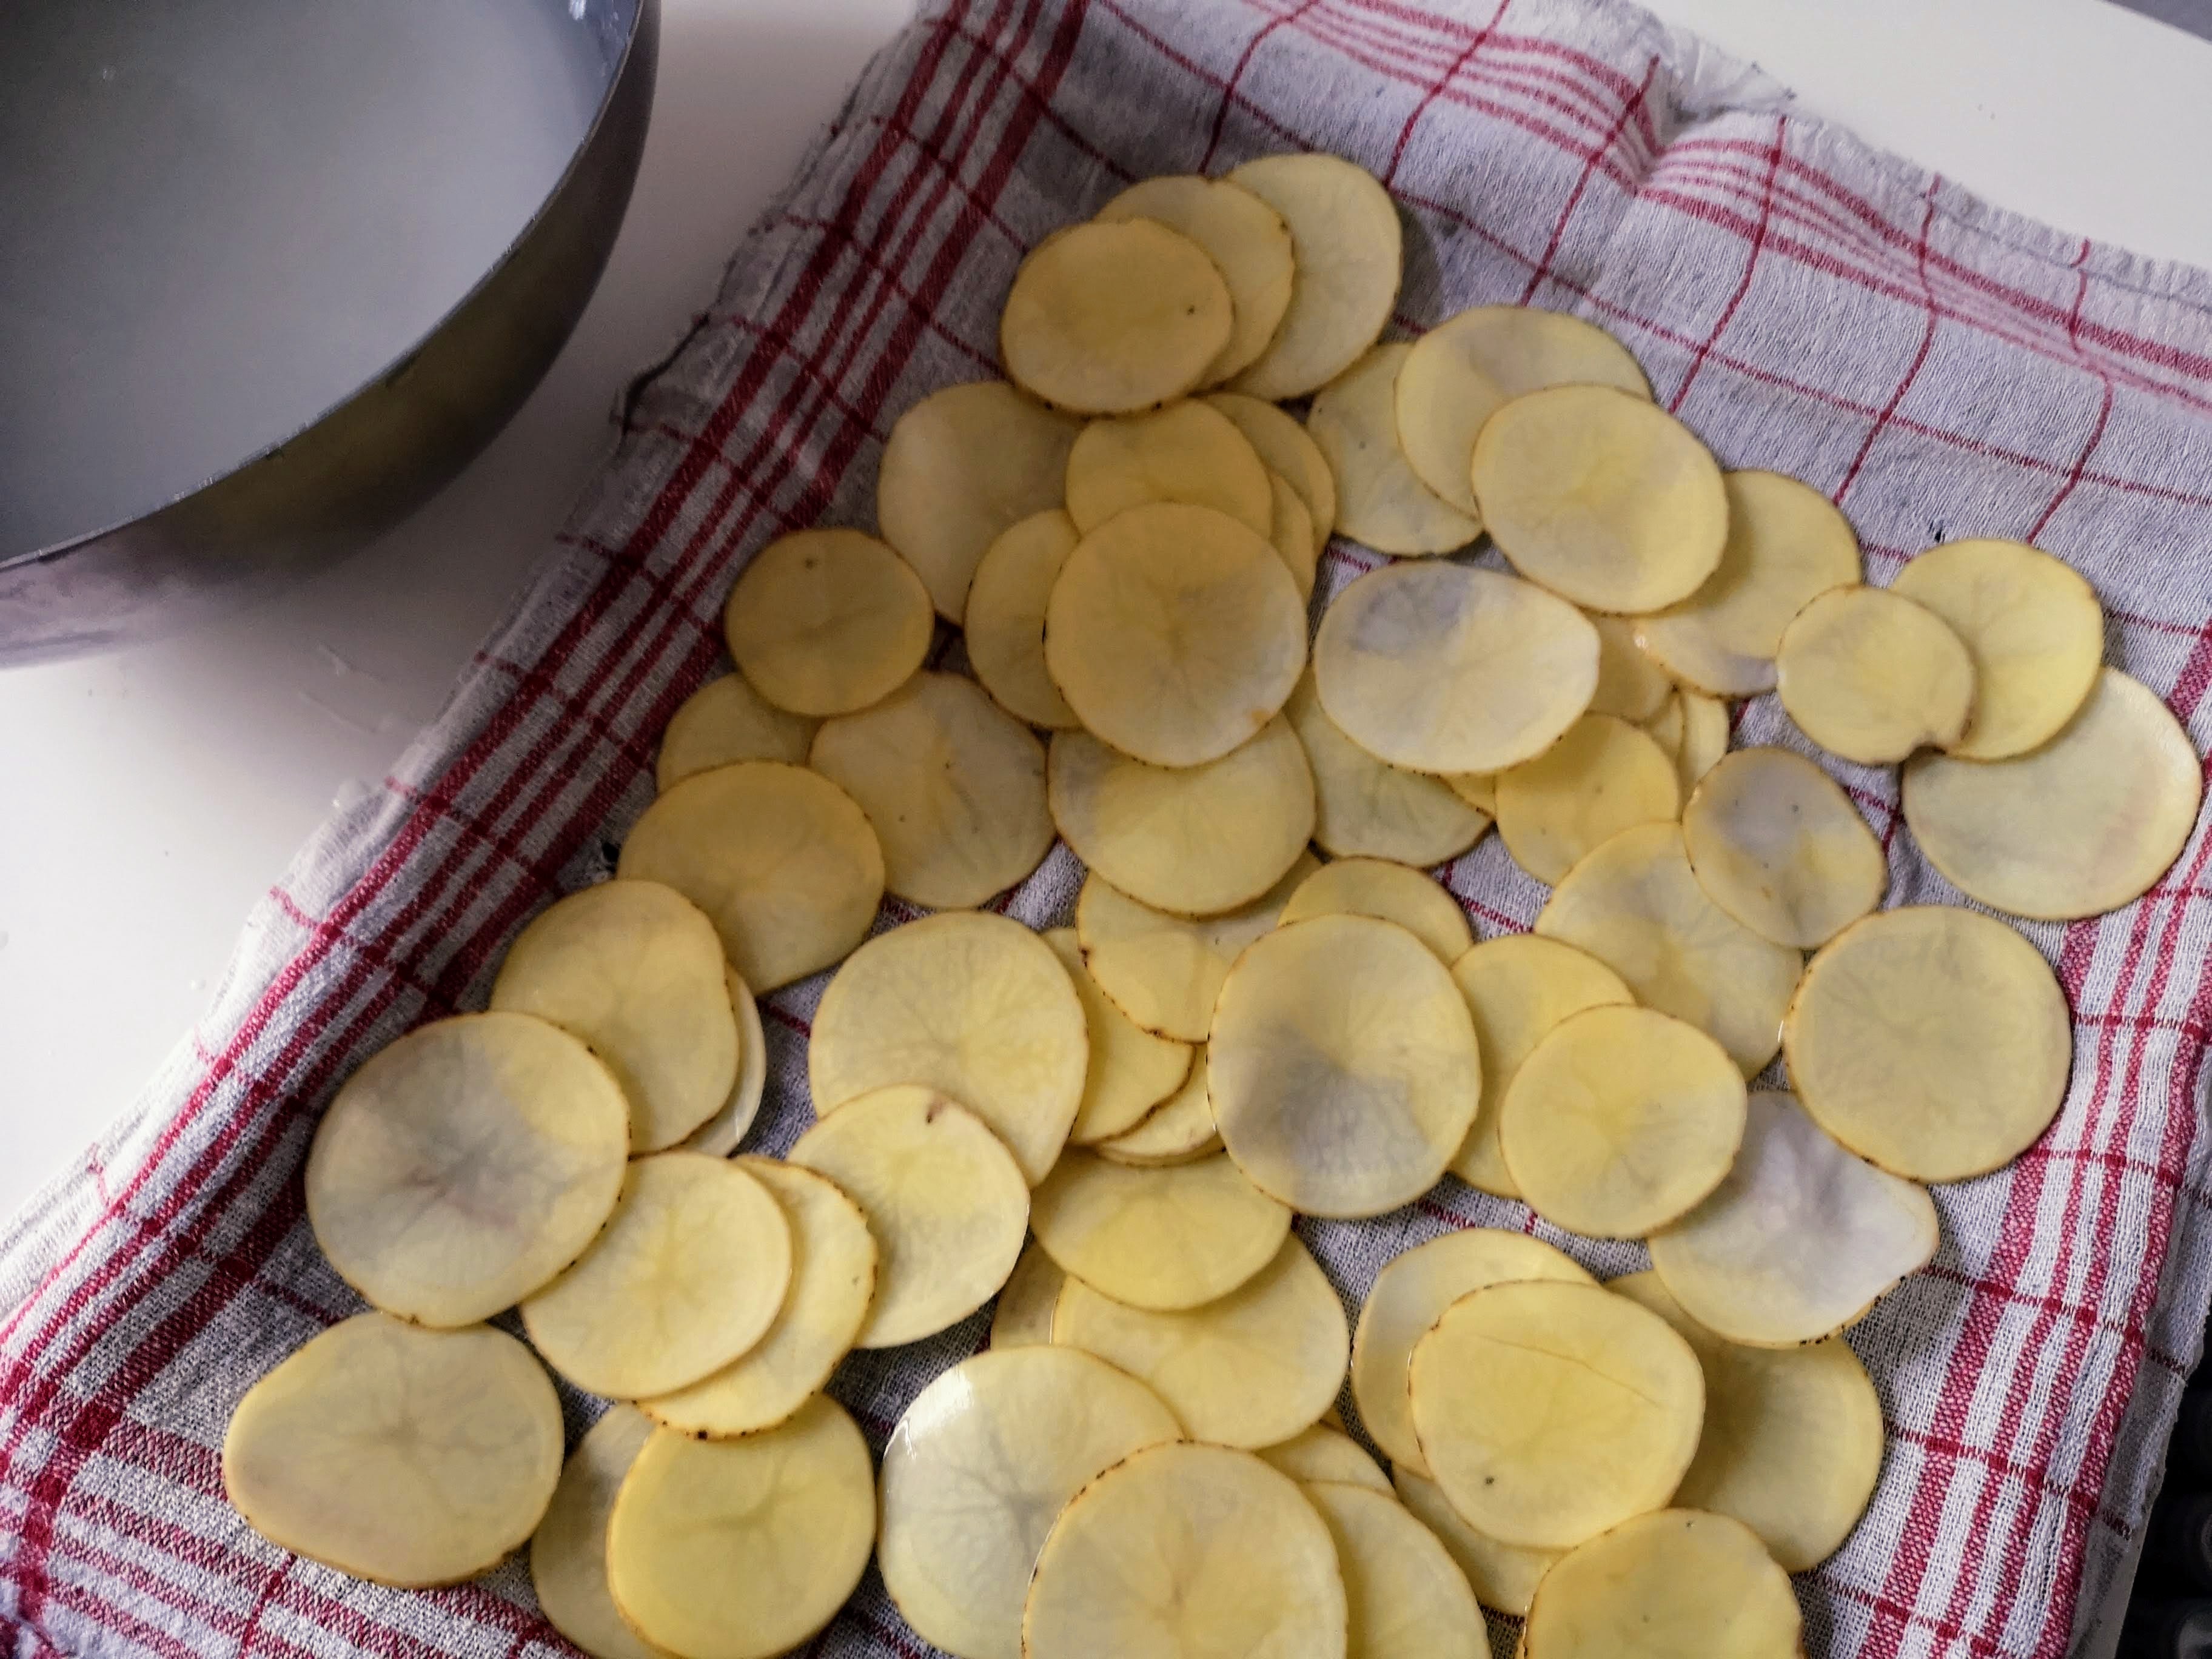
After about two hours, I fetch the bowl from the fridge. I set up a kitchen towel-lined baking tray and layer the raw chips as close to a single layer as possible. I then use another towel to press down on the wet chips to draw out as much of the water as I can. You can do all of this with paper towels, by the way. You don’t have to get all the water out, just as much as you can without mushing the raw chips.
Step 2: Fry The Potato Chips
Ingredients:
- 1.5 liters/50-oz. Neutral Oil
- Salt
Method:
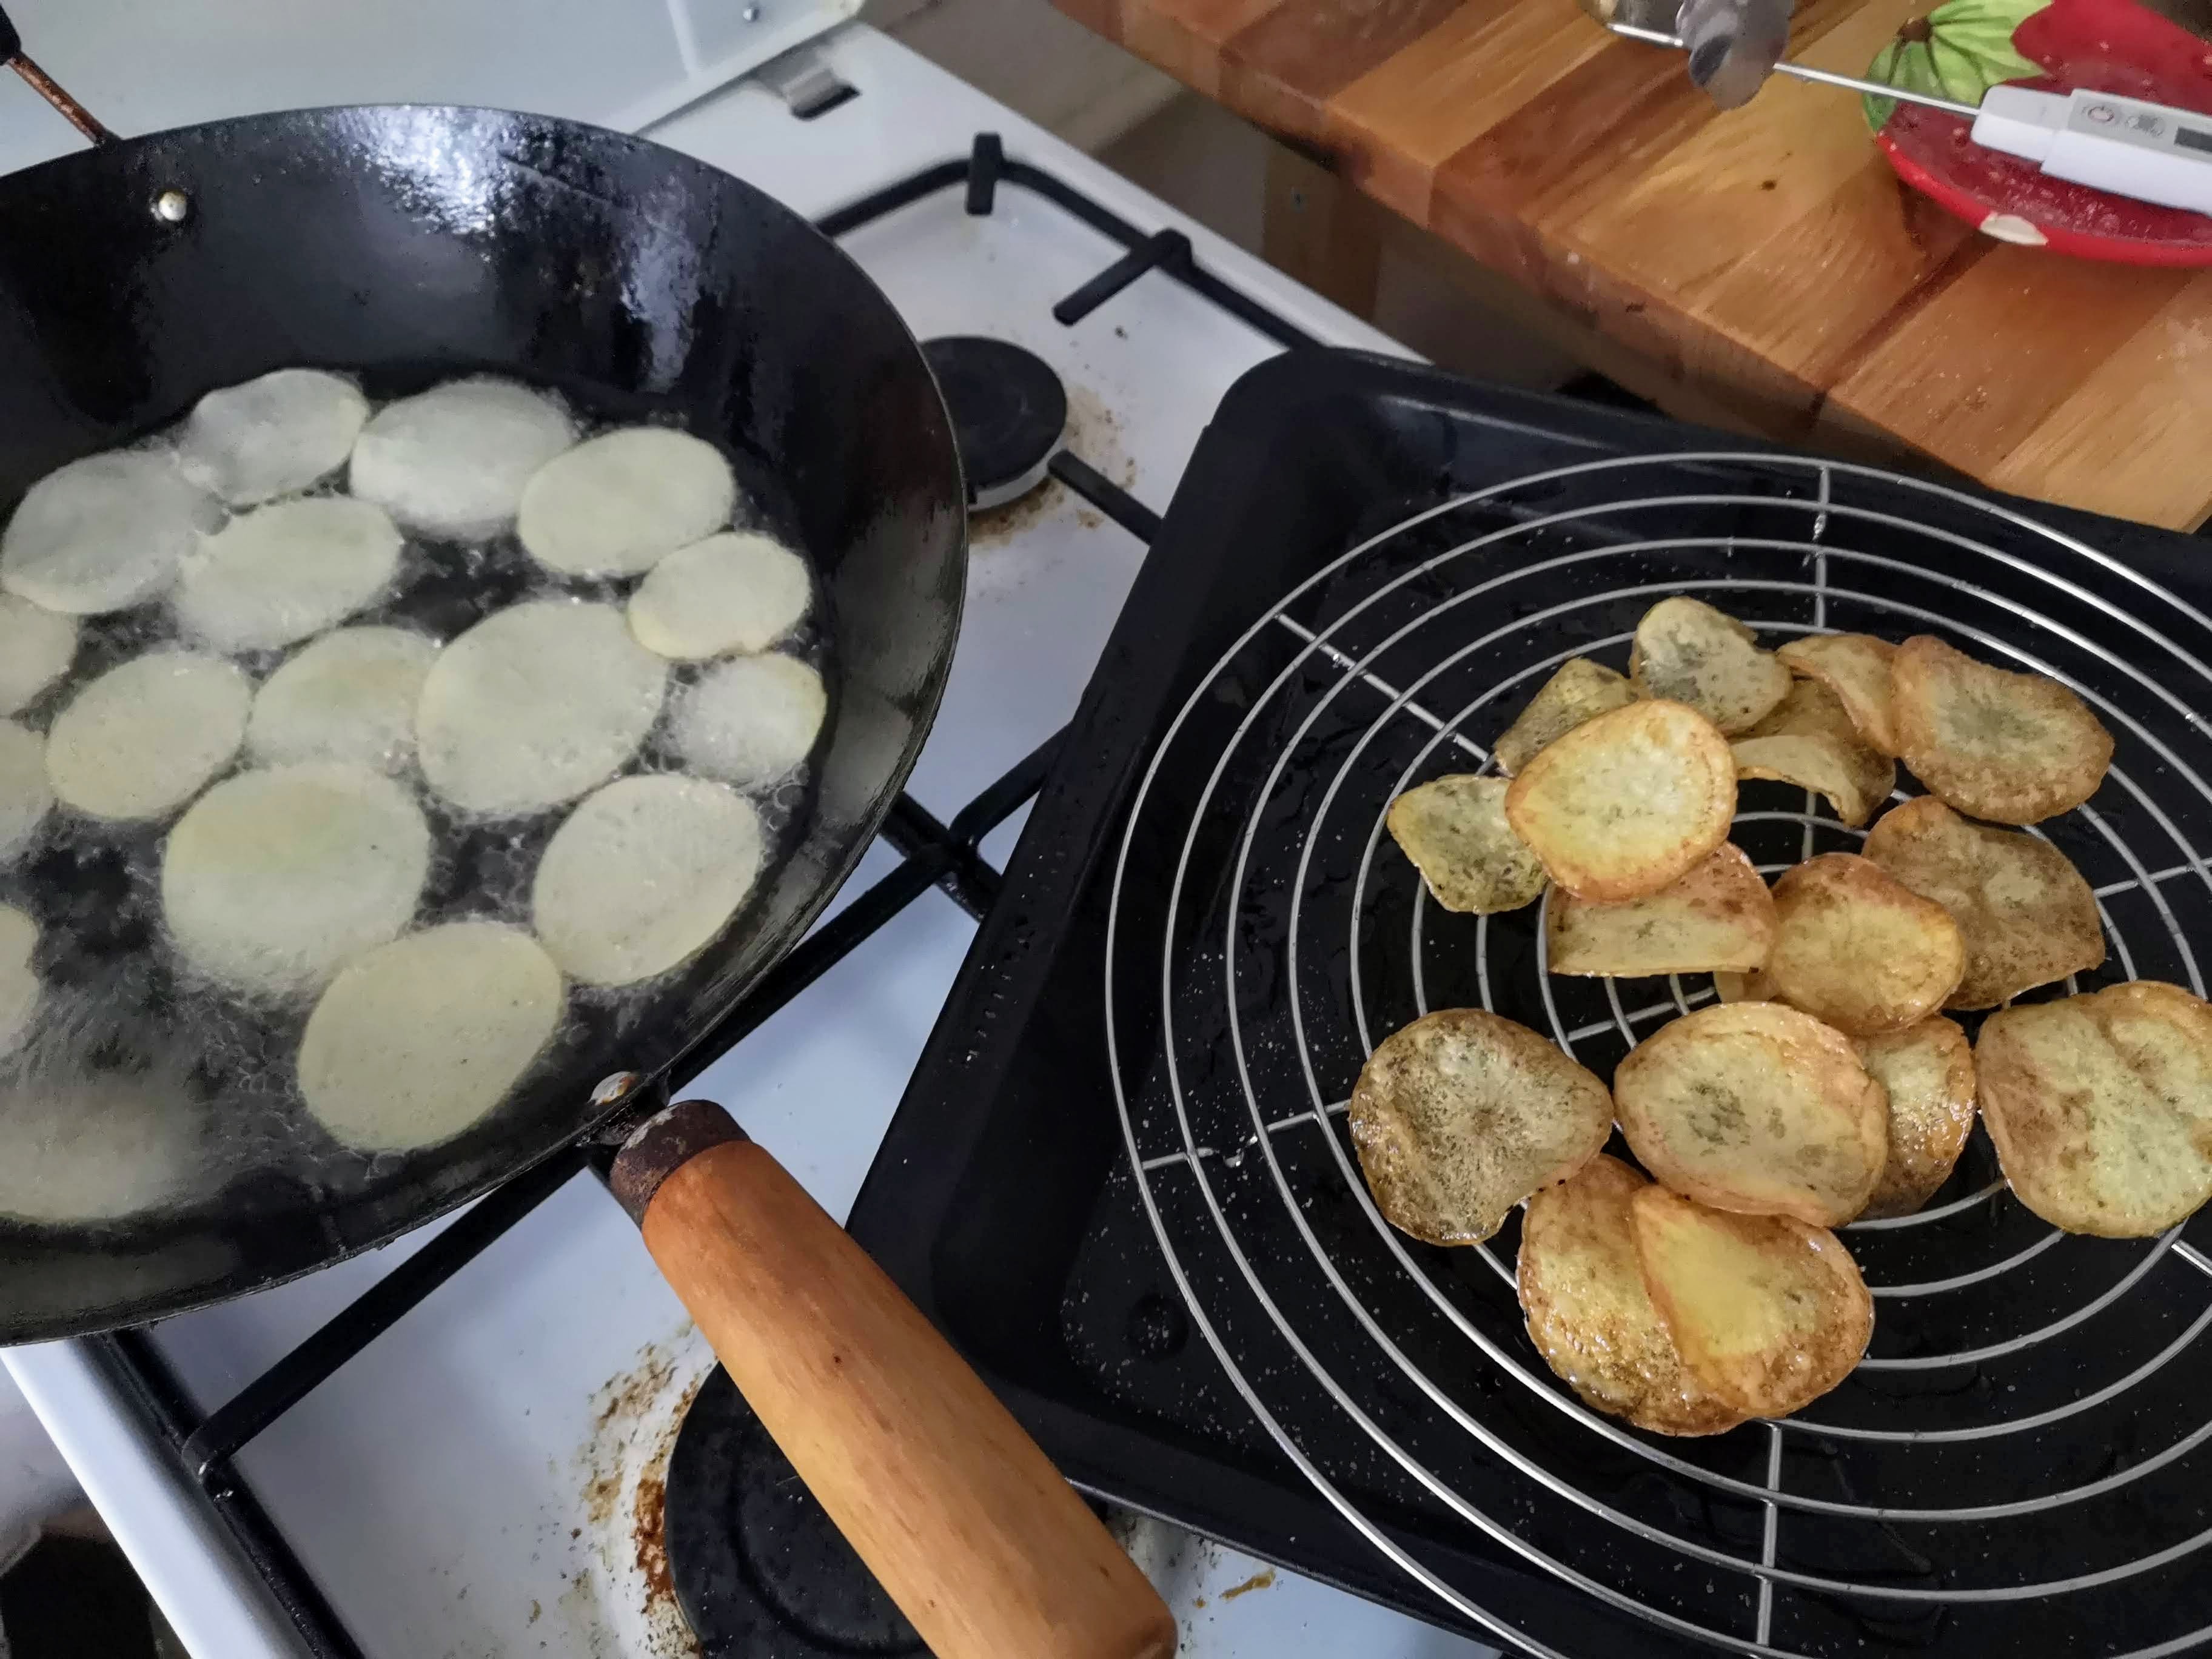
I get my wok on the flame and pour in the bottle of oil. I’m using sunflower oil but you can use peanut or canola, too.
Once the oil has reached 350f/175c, we’re ready to fry.
I gently drop the raw chips into the oil using the skimmer spoon about 15 to 20 at a time. You want to make a full layer but avoid complete overlap.
I use the skimmer to keep the potato chips moving around the oil. Industrial potato chip friers use metal paddles for this. The point is to keep them moving so they don’t stick or burn. There’s a very narrow window from them being done to crisp to burnt, so you need to stay focused.
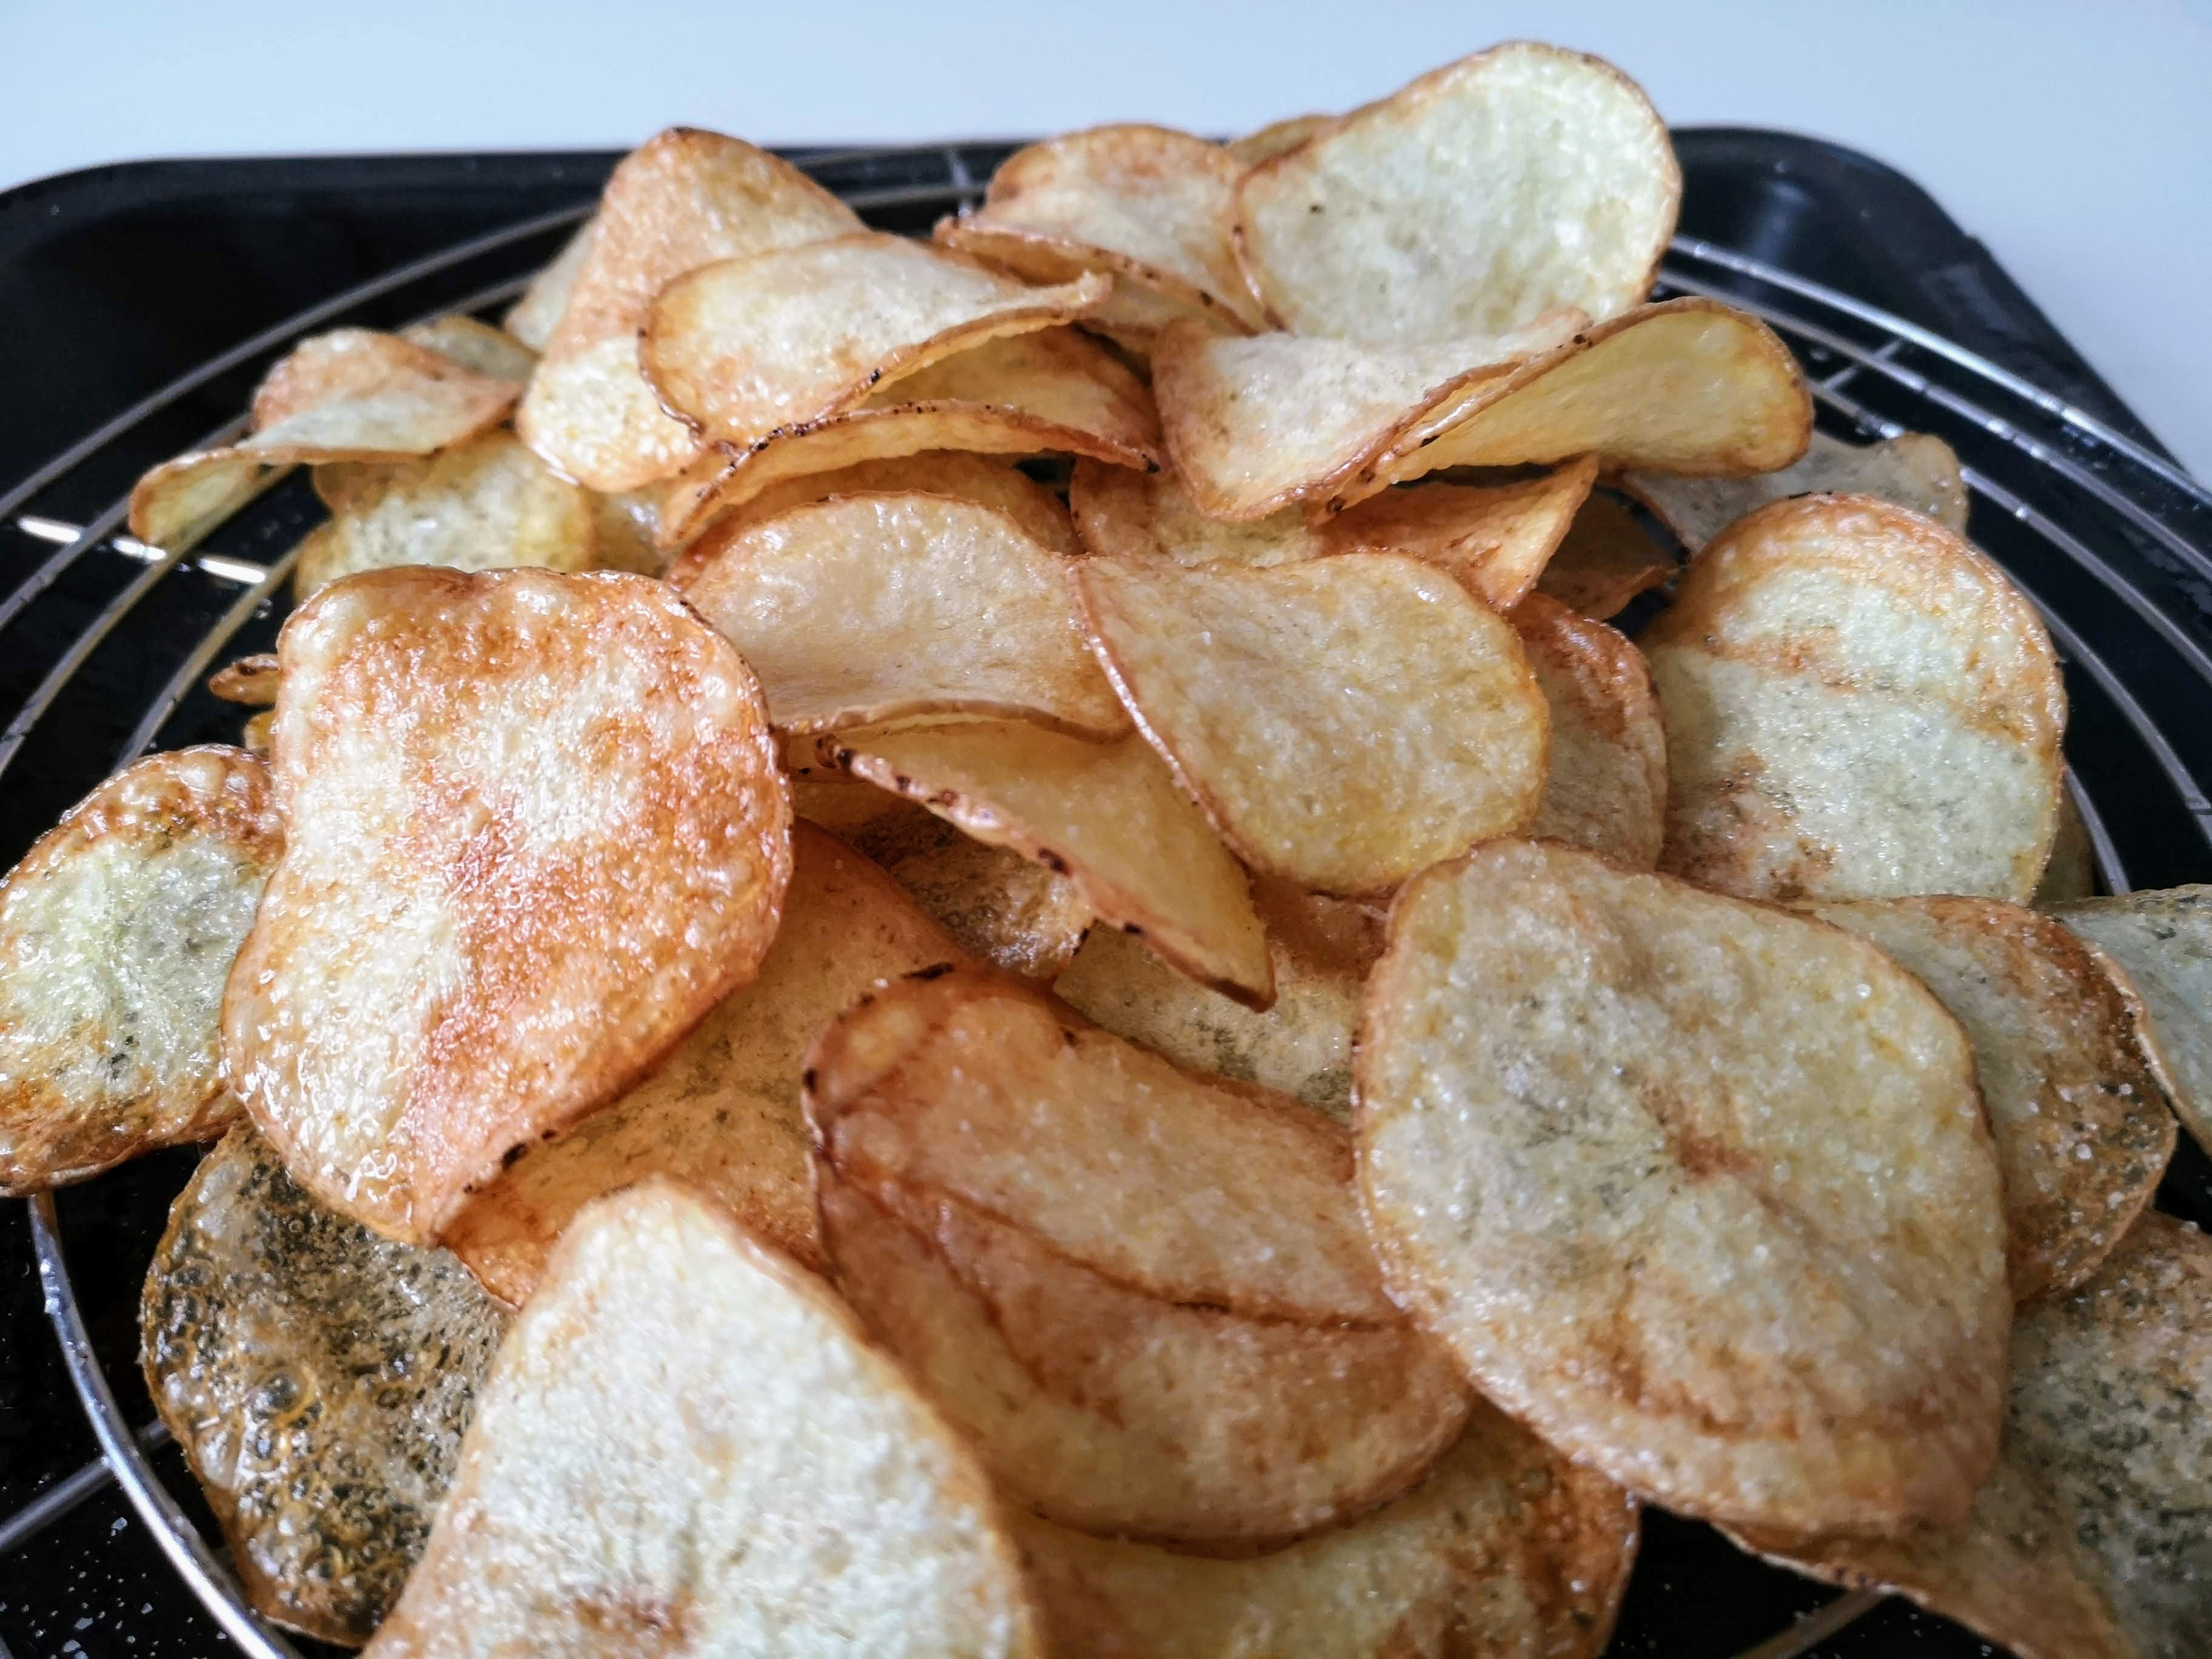
The sweet spot for removing the chips from the oil is then the edges just start to brown. Remove the chips to a wire rack for cooling and oil leeching. Hit them with salt immediately. If you want, you can go wild here with flavor. Our editor uses a mix of mustard powder, onion powder, and black pepper. Paprika always works well, too.
Once seasoned, the chips will continue to brown on the rack until they’re golden. I end up making three batches — taking around 15 minutes in total.
Step 3: Serve
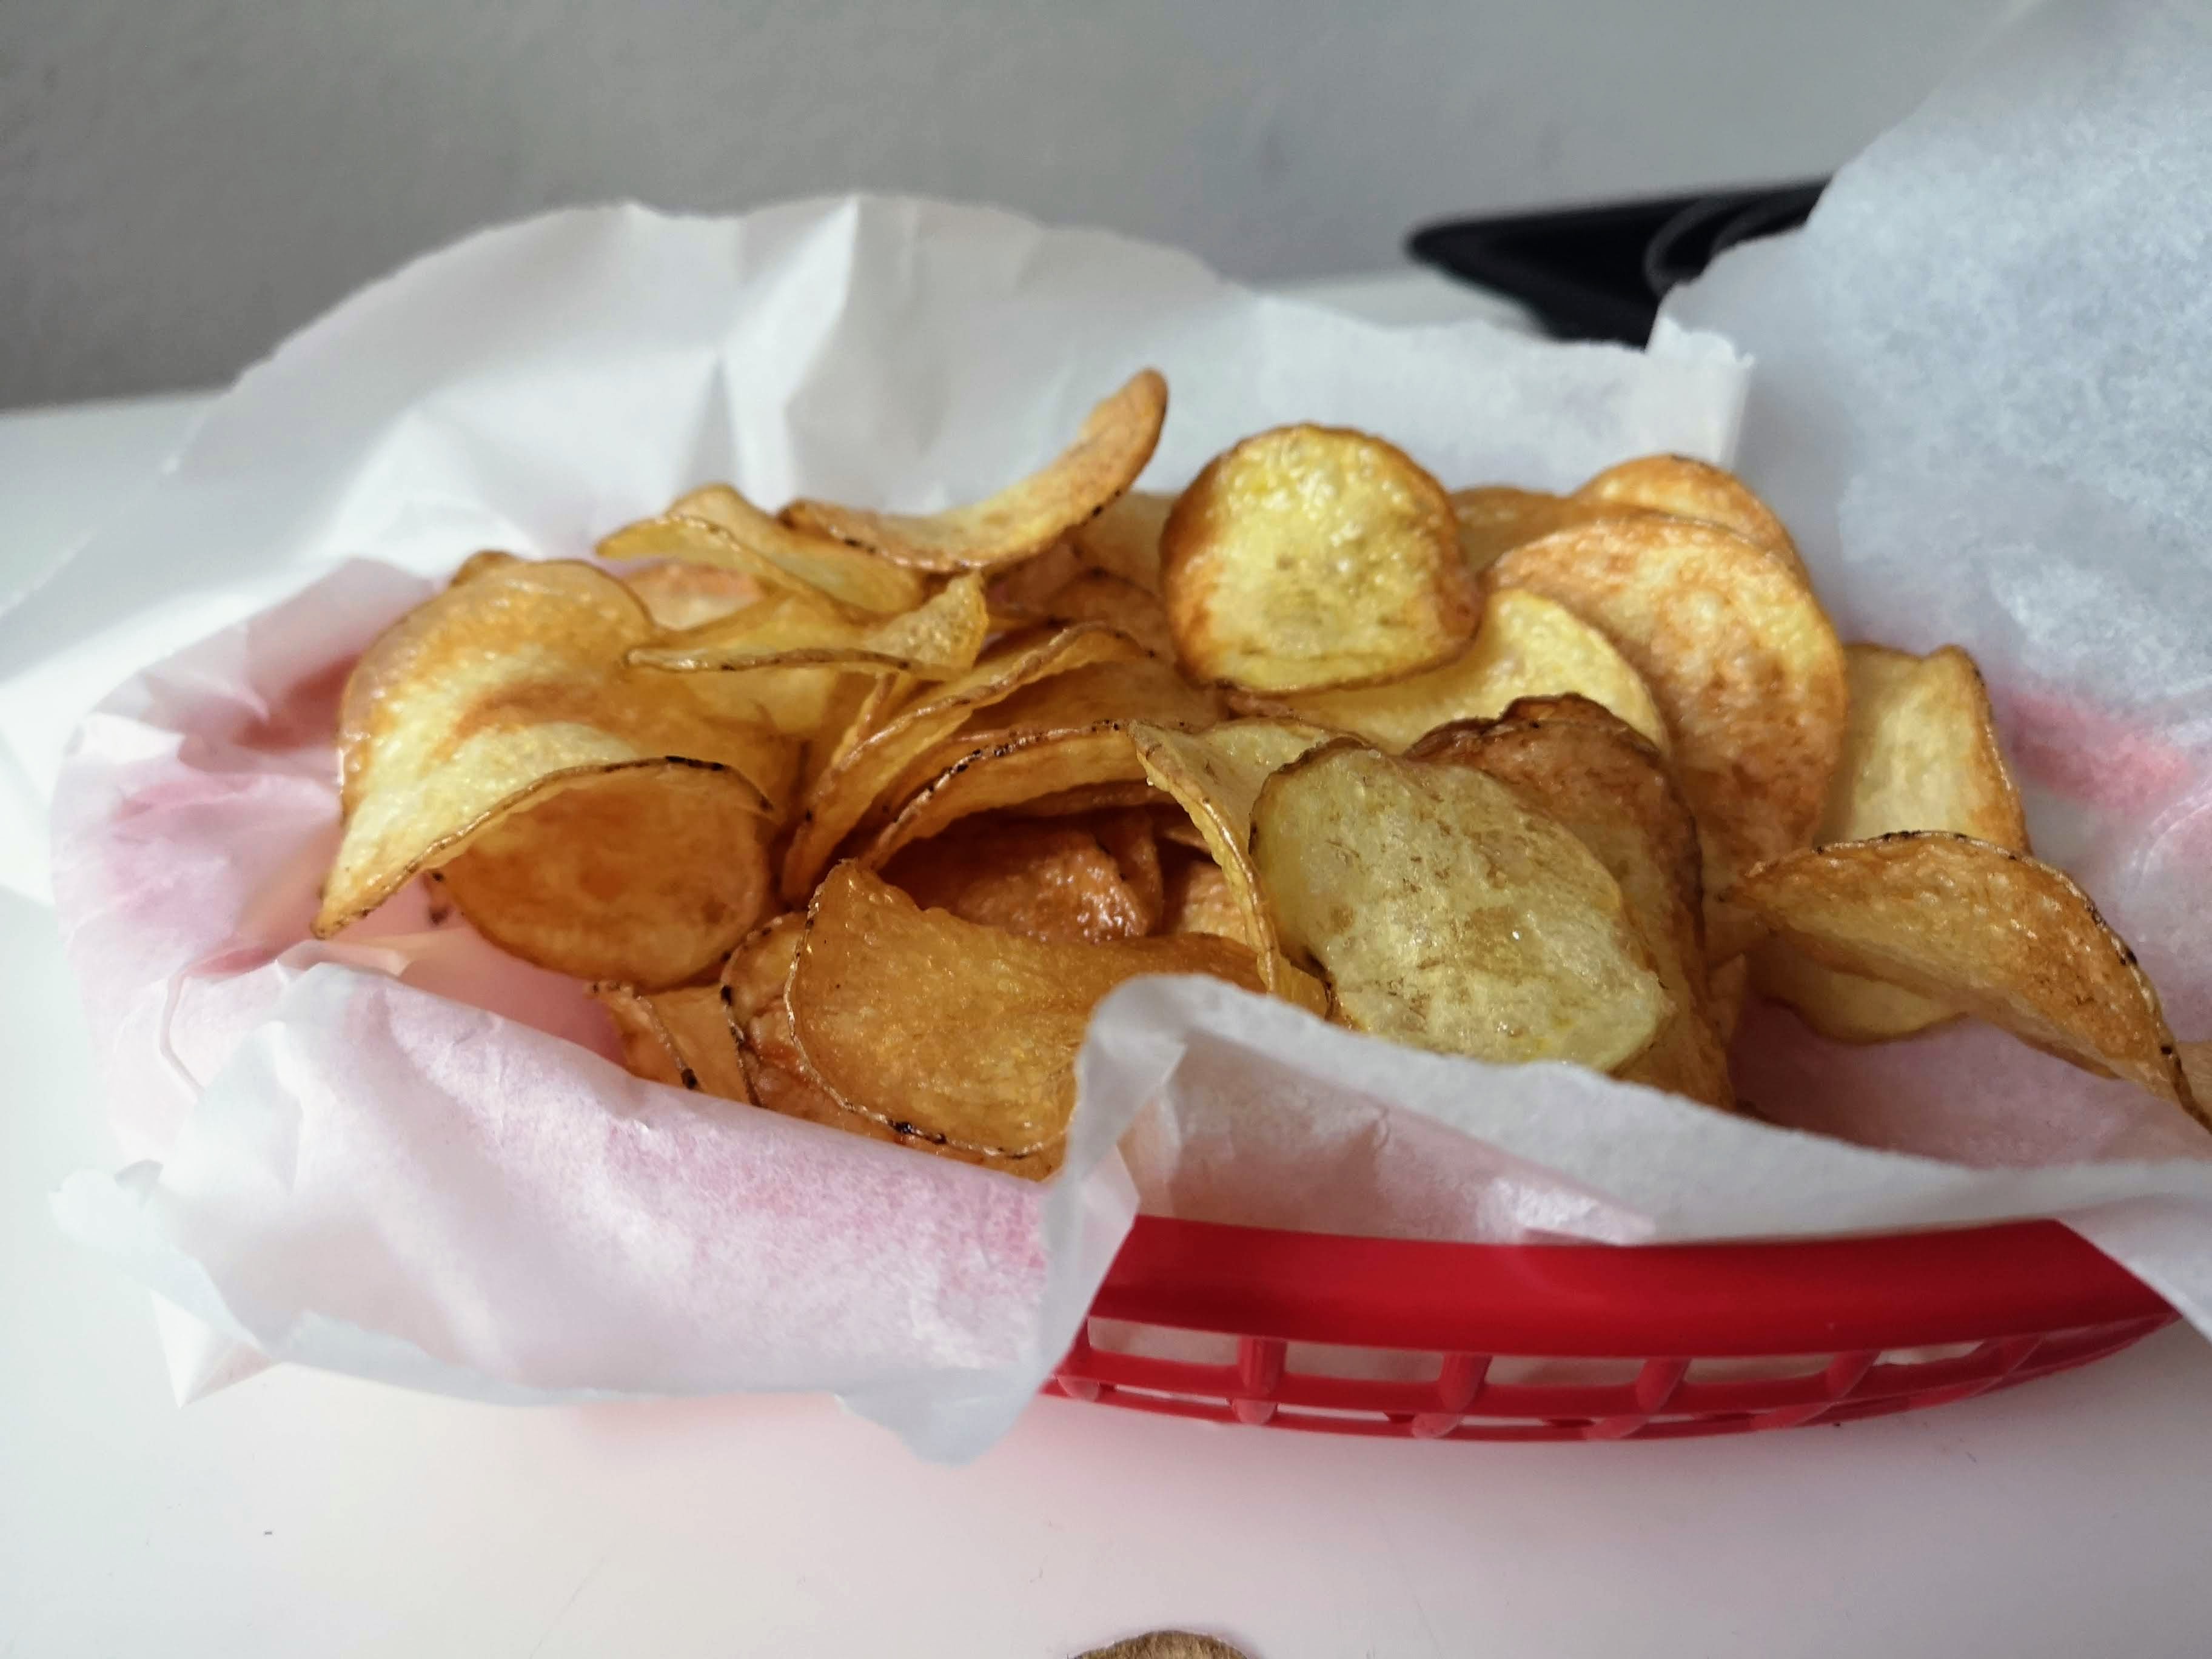
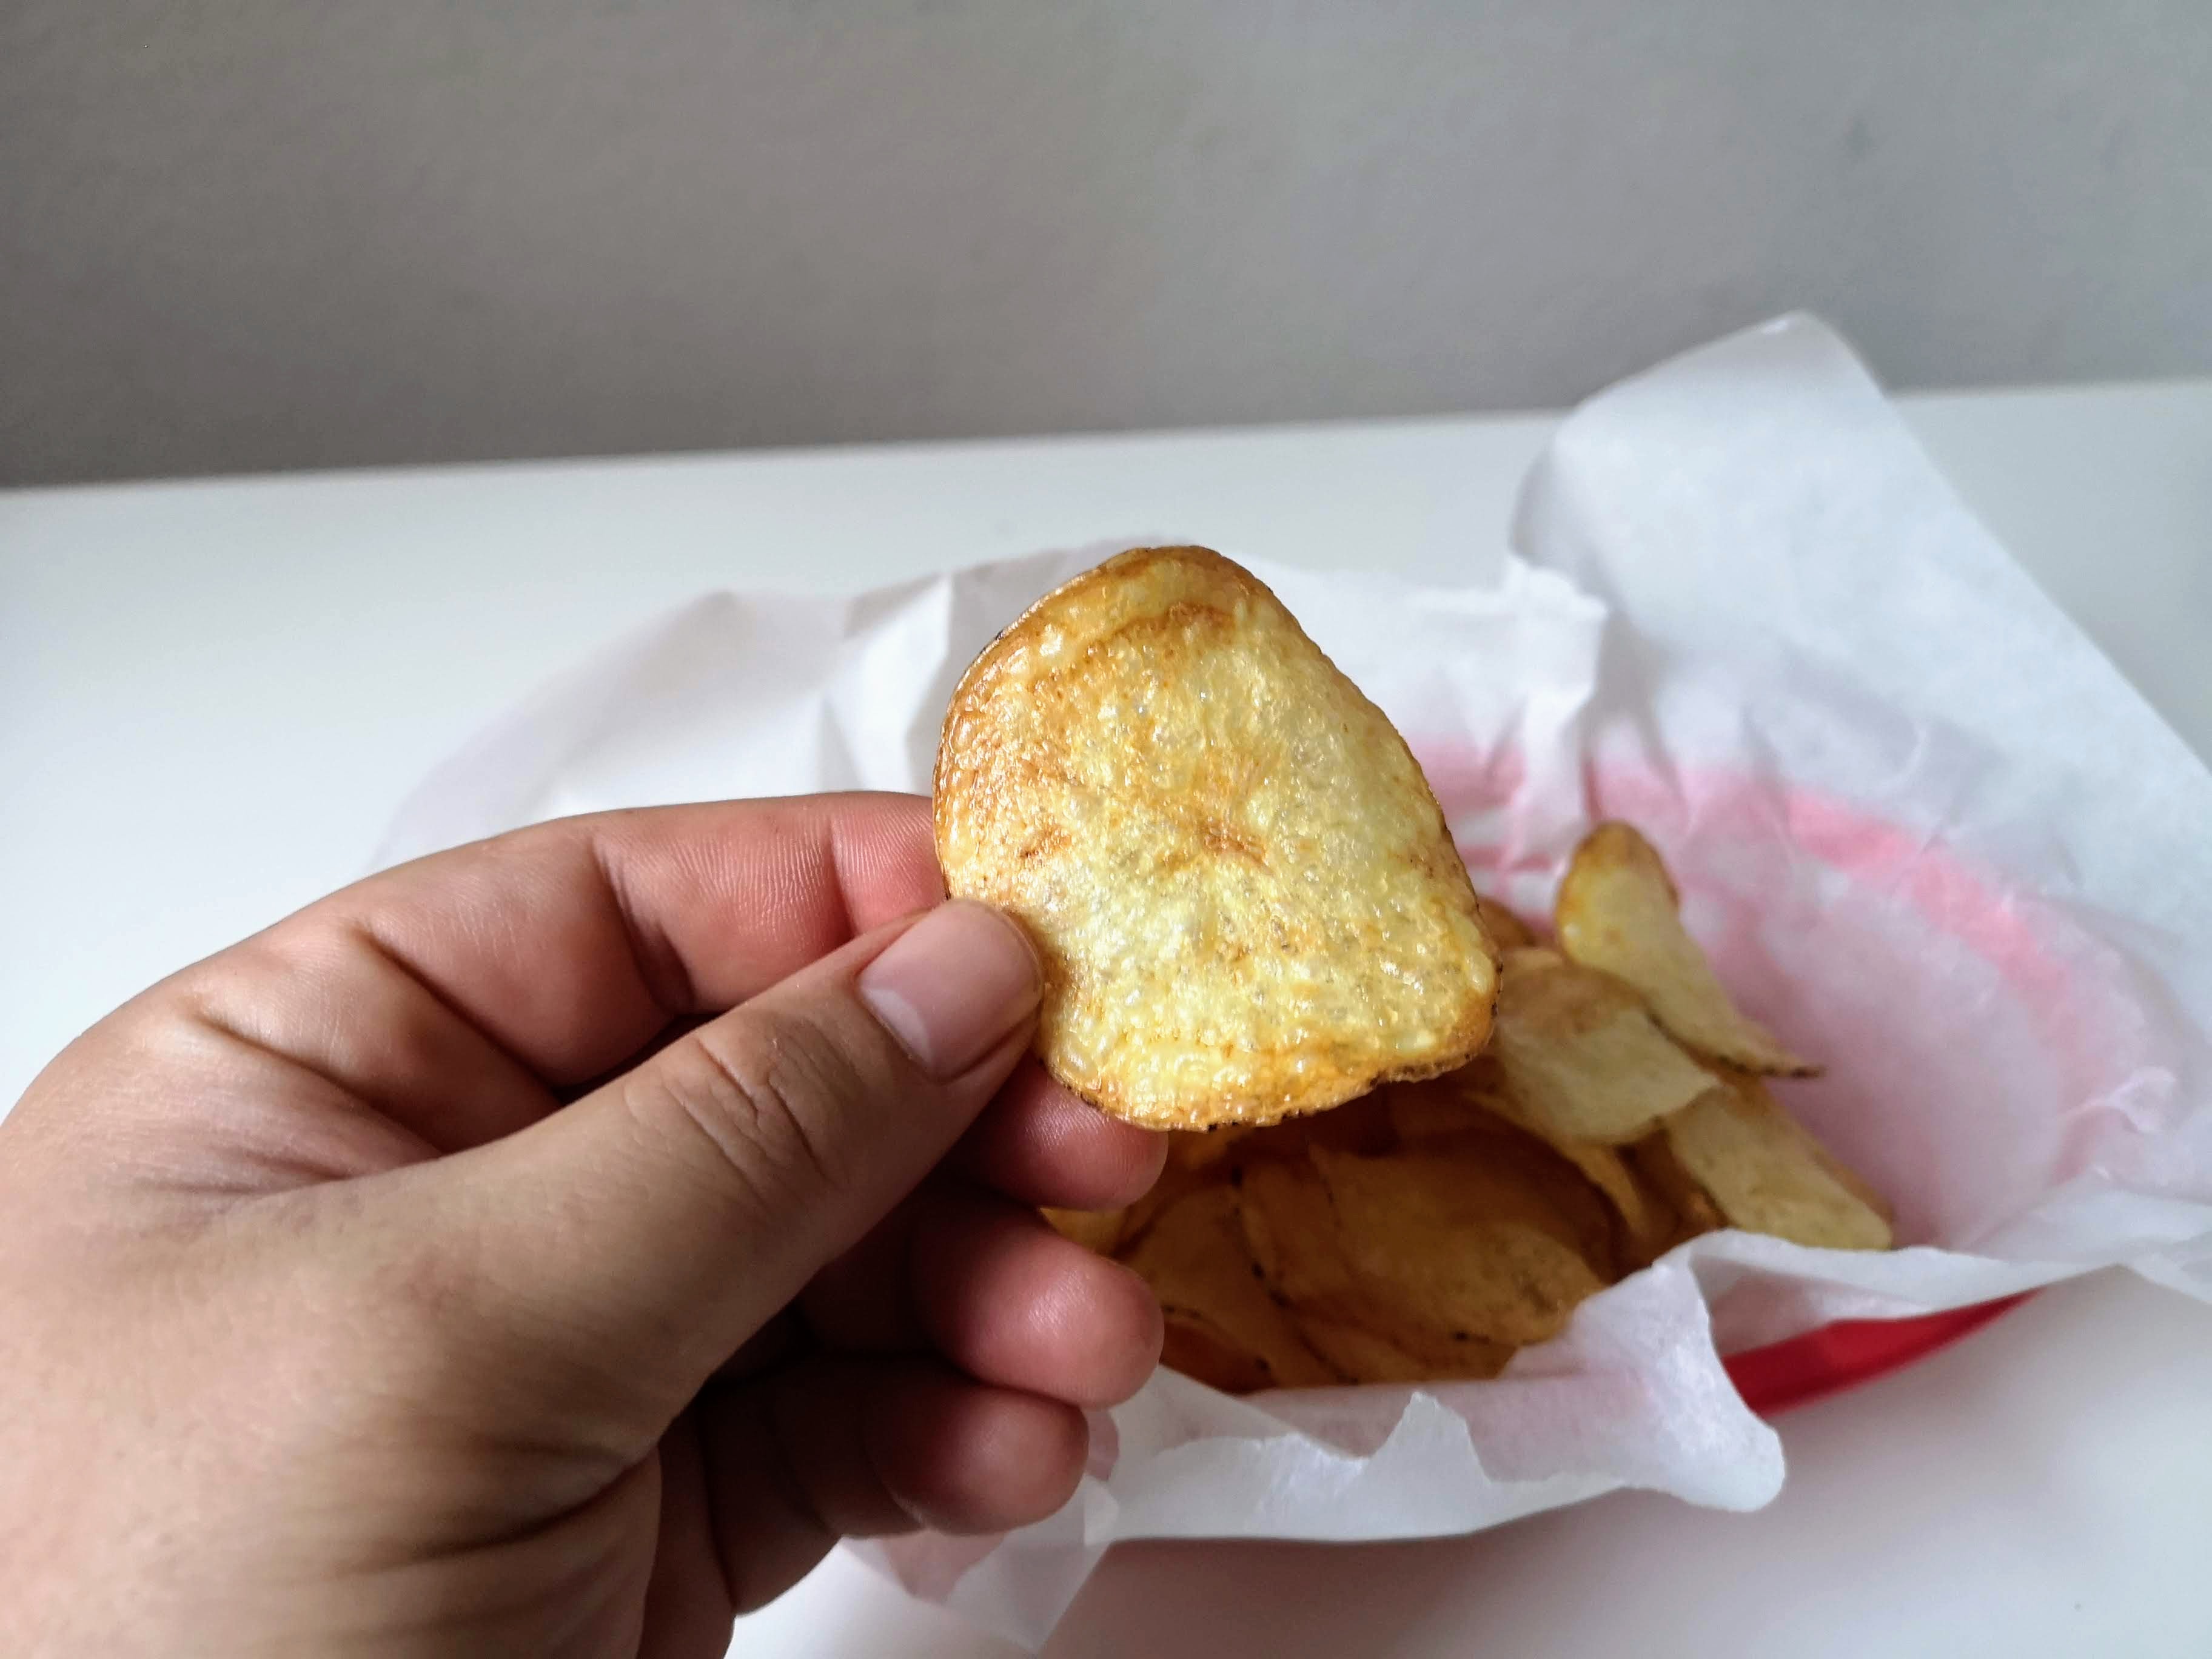
Once cooled, I transferred the chips to a basket for munching. Truth be told, I was snacking on these chips the whole time I was frying them too. They were freaking delicious. Imagine a chip that’s thinner than a Kettle Chip but with more heft than your average industrial Lay’s.
It’s just the right amount of chip and it nails that perfect balance of crunch and salt. Full disclosure, I ate the whole basket for my lunch. I regret nothing.
November 30, 2020 at 07:47AM
https://ift.tt/33sHojO
It's Time You Learned How To Make Your Own Potato Chips - UPROXX
https://ift.tt/2rh4zOj
Potato
No comments:
Post a Comment